The bags can be embellished with ruffles at the top, fringe at the bottom, tassels, turned into extravagant modern versions of Edwardian reticules, or made huge enough to be duffel bags, laundry bags, pajama bags, or possibly even sleeping bags. You can decide yours is too plain and pick up stitches at the top after it’s all already done and add lace, edgings of many varieties, fringe, whatever.
There are two main principles to consider in making a drawstring bag. If you want it to sit relatively flat, it will need a flat bottom. That means thinking ahead as to your chosen means of ending the bag – square? Round? Roundish? Other? The other principle is to remember that you will need drawstring holes in matched sets of four in order for your drawstrings to be evenly distributed so that it closes properly. This in turn means thinking in terms of the number 8. A very handy number, as it turns out, for making sure the bottom is flat as well.
For newbie knitters, this is a good practice pattern for getting comfortable using double-pointed needles. No one will give a hangnail if his or her doodad bag is a little off. They’re putting rocks and shells and magnets and buttons and Barbie clothes in it anyway! And, unlike a sock or some more demanding pattern, there are only a couple of techniques to learn, the rest is all handling your needles competently, or learning to do so.
A basic vanilla pattern follows.
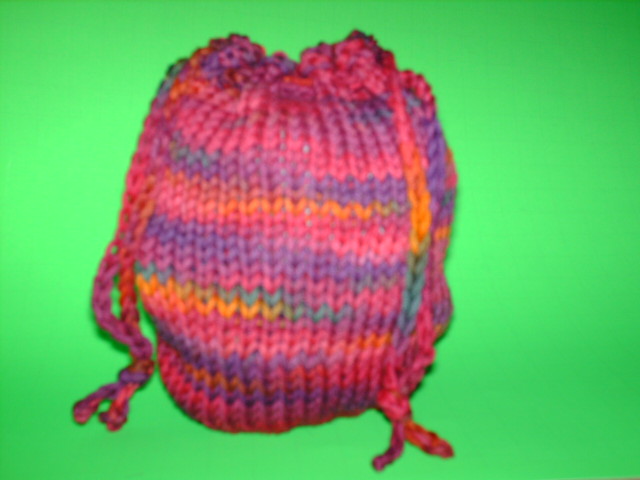
DRAWSTRING DOODAD BAG
Set of dpns, your choice in size, I used 4’s
About 2 ozs yarn, your choice, doesn’t need to be matching leftovers, I used worsted weight cotton
One small crochet hook, I used an E
Snips
Cast on a multiple of 8 stitches. I used 32. Join.
Knit one row. Purl one row. This completes the “neck” area above the drawstring holes.

Drawstring holes:
Knit 2 together, ***move this stitch back to the holding needle and knit the new stitch again***, yarn over, ***knit 2 together again, move this stitch back to the holding needle, and knit the new stitch again***, yarn over. Repeat around. (The reason for this is that your hole – the yarn over – expands the stitch depth twice. In order to make a nice, even, non-snagging hole, you essentially need to match that depth in the stitch between the holes. See picture.) 32 sts. 16 holes. (8 for each side) Knit one row plain. This completes the drawstring hole area.
Body of the bag:
Next row, increase evenly by multiples of 8. For example, I knit 4, increased one by the M1 method around for a total of 40 sts. If I wanted a fuller bag, I could have increased by knitting 2, then increasing, all around. I also chose to increase in the next row as well, for a total of 48 sts. Try to make these increases within the top/next two rows. (The reason for increasing is that your drawstring holes have expanded the width of the bag. If you don’t increase, the drawstring area will be noticeably wider than the rest of the bag, which is kind of weird looking, and when the bag is open, it will flop out too much at that point. Increasing by at least one multiple of 8 makes a visually proportionate bag.)
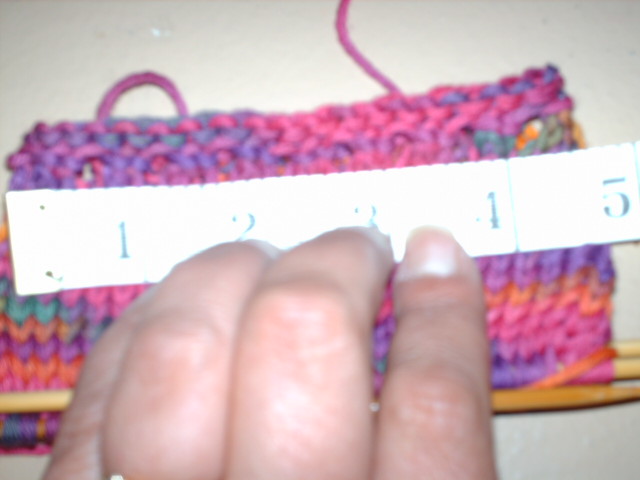
Knit 10 rows even. Measure top of bag. Mine was 4.75 inches. (See picture)
Bag length should be between 1 and 1.5 times the width of the top above the drawstring line in order to look proportionate, sit well, and be useful for storing trinkets and treasures. If it’s shorter, the puckering when the drawstring is pulled will considerably reduce the interior storage area. If it’s longer, it looks like a sock you gave up on, and the kids will bring home too much crap in it anyway.
Knit even to desired length. Mine was 6 inches.
Decrease for bottom:
Conventional wisdom is that decreasing by factors of 6 or 8 yields the closest to “round”. (Note: you can also INCREASE by those factors if you want to make something round in the opposite direction – starting a bag at the bottom, or making a round blanket or doily) Divide stitches by either; I used 6 as my interval, and decreased as follows:
1st row: knit 4, knit 2 together around
2nd row: knit 3, knit 2 together around
3rd row: knit 2, knit 2 together around
4th row: knit 1, knit 2 together around
5th row: knit 2 together around.
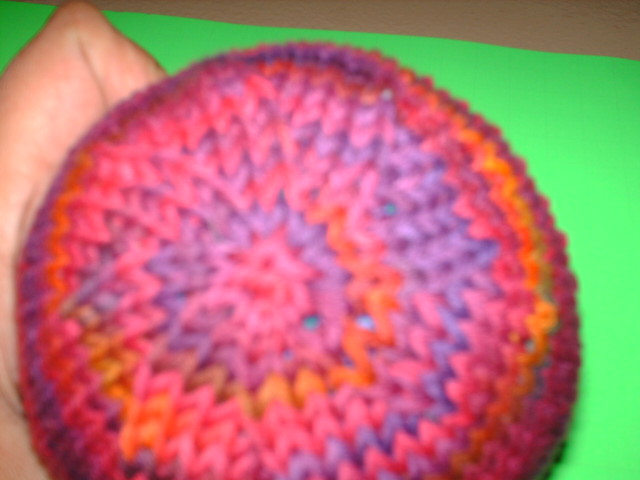
This should yield 8 swirls, leaving 8 stitches unworked. Using the crochet hook, pull a loop of yarn through, pull tightly, fasten off. Leave a 4” tail and pull that inside the bag.
Note: If you choose to decrease every other row, your bag will have a conical bottom. Also, a little of the even part of the bag will act as the outer edge of the bottom usually, but the important part is having it sit flat, which has been accomplished.

Drawstrings: (make two)
Using the crochet hook, leaving a 4” tail, put a slipknot on the hook, and draw it relatively tight. Pull a loop of yarn through. This is your first chain crochet stitch. Repeat to desired length, I recommend at least 2.5 times the measured width of the top of the bag, or at least enough to go around the wrist plus 2” of ease for where it’s in the puckers. Leaving a 4” tail, snip, draw yarn end through last loop and pull tight.
Fold your bag in half lengthwise and feed the crochet hook down into the first hole, up through the next one, etc., until you get to the halfway point. Wrap that 4” tail around the crochet hook and pull the drawstring back through the holes. Using the same drawstring, repeat on the other side with the other end of the same string. You should now have a drawstring completely circumnavigating your bag, the ends coming out of holes next to each other with only one stitch bar in between the two ends. If isn’t right, don’t panic, this is not your presentation gift for the queen, it’s a doodad bag for rocks and Barbie shoes. Any problems were probably due to not believing me when I said use multiples of 8.
For the second drawstring, count to the middle and pull your drawstring over the other one, through the same holes in the same order, but such that the string ends emerge approximately or exactly halfway around the bag. Weave yarn tails back through the chains, snip off excess, tie ends together. I just use a half hitch knot.
Pull both ends. Voila! Drawstring doodad bag! Give to beloved child, or let siblings duke it out over the finished product. Or store necklaces in it.

No comments:
Post a Comment