Most of us knitters have bags, boxes or bins full of oddballs that we’d like to use, and not everyone is a mathematician, a genius or an expert. These directions are generalized for use by anyone, from beginner to master. You can tweak, revise, alter to your heart’s content and the maximum of your expertise. It’s encouraged, in fact, to add spice and learning to the process of making your own! There will be at least three parts, possibly more, since blogspot will only take so much in terms of pictures in one day or post.
General Notes: This is not a pattern. It is a guide for making and joining different types of squares and rectangles in garter stitch to wind up with a crazy quilt effect. Yours will be unique and individual, as large or small as you like it. Some parts may not satisfy nit-picking expert purists, but I really don’t care. Garter stitch is easy, stretchy and forgiving of many different types of mistakes, which makes it perfect for experimental or inexpert knitting!
Materials used: odds and ends of worsted weight yarn, or thinner yarn doubled to worsted weight (it is important that the yarns have fairly similar washing and drying instructions). You may also use sock yarn, whatever, with needle size adjusted accordingly.
One pair of needles, one to two sizes larger than recommended for that weight yarn, to increase drape and loosen up the tightness of garter stitch. At some point you may wish to have circular needles on hand, particularly around the time you make a border.
One or two markers or yarn loops for marking miters
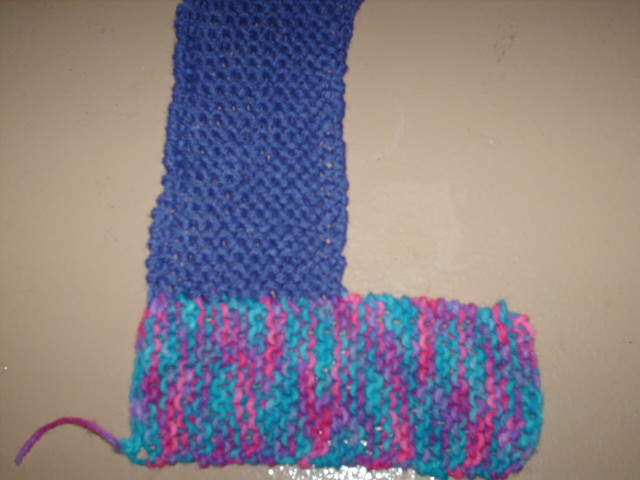
First strip: cast on as many stitches as you like, knit every row. Last row worked should be a wrong side row (put a pin in the right side, if you wish, to remind you of which side is which). Cast off.
 Second strip: Pick up, along a side edge, one stitch in each bar between the garter ridges, as many stitches as you like. It can be all the way across your first strip or only partially, as shown in the picture. Knit every row, end wsr (wrong side row), cast off. You can continue doing this as long as you want, there’s no recipe or preferred method.
[picking up stitches for the second strip or block]
[completed second strip]
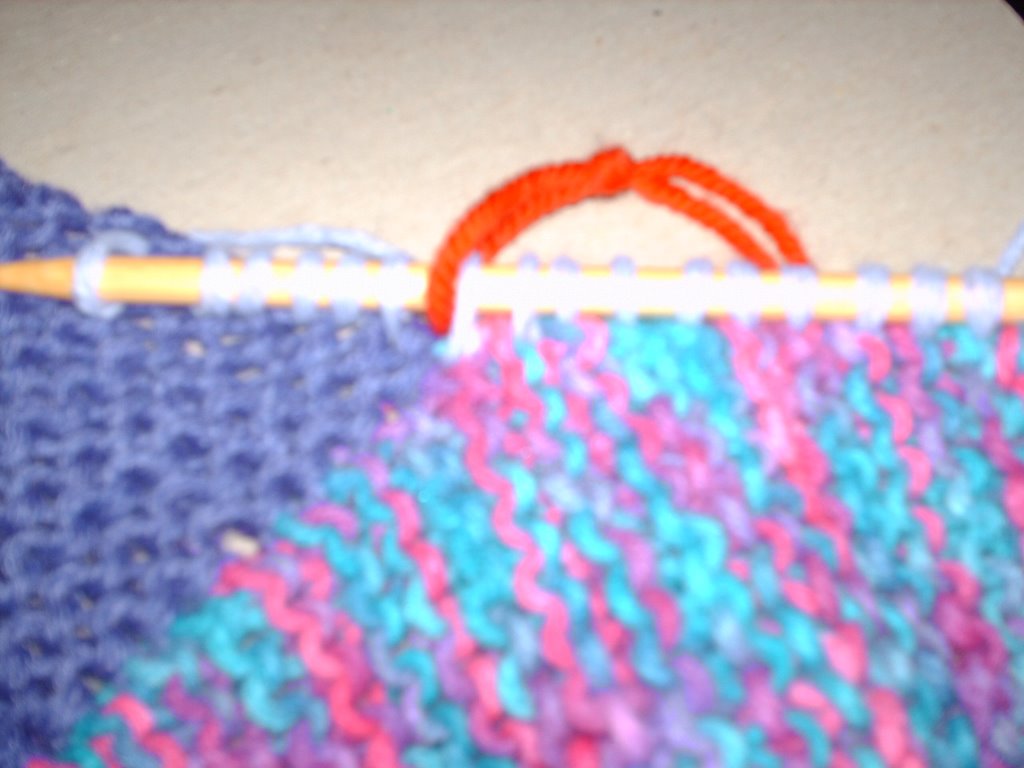
[picking up stitches across two perpendicular edges]
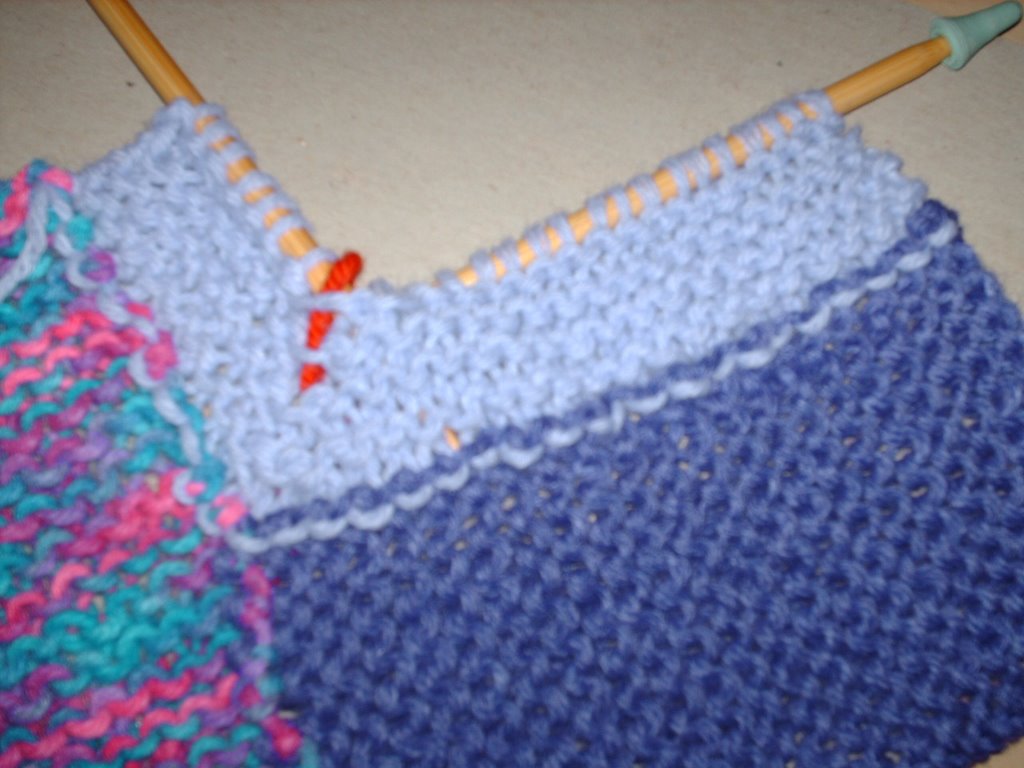
[knitting the mitered block, wrong side]
Repeat these two rows until you have two stitches left on one needle (you will have just finished a wrong side row). If the two remaining stitches are on the right needle, slip, knit, psso, drop marker and cast off across the row. If the two stitches are on the left needle, cast off to those last two stitches,
then cast them off as if they were one stitch.
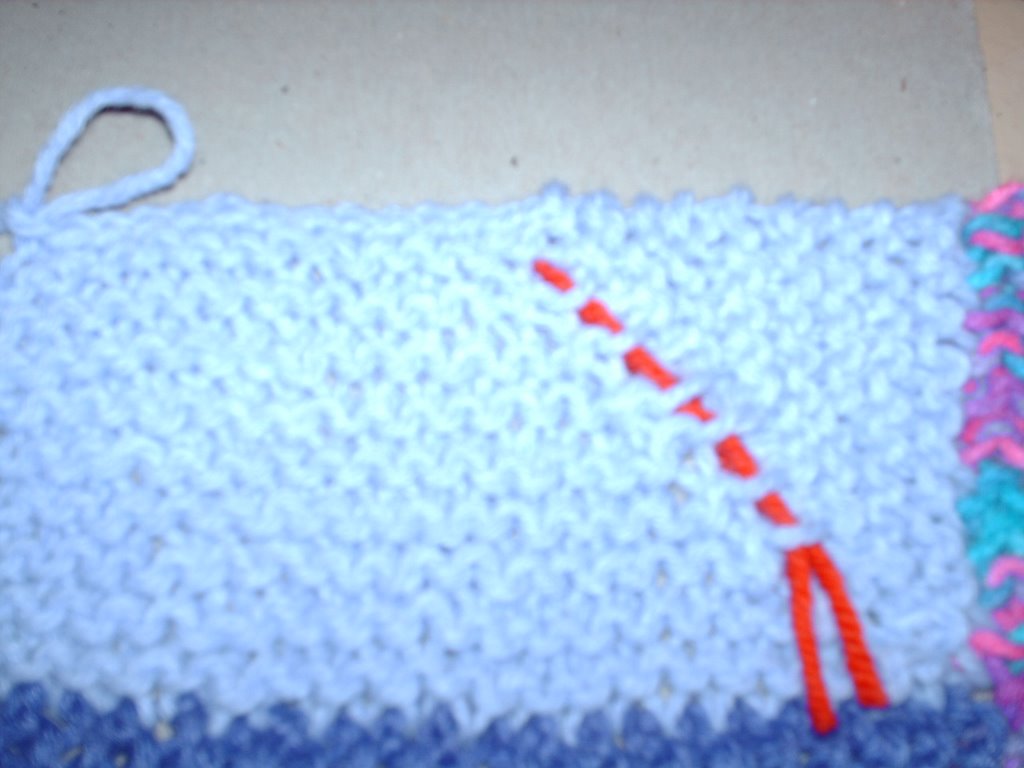
This leaves you with an evenly edged rectangle. If you knit this row, then cast off on the wrong side row, it is not a mistake. The cast off row will rise above the rest of the square and be uneven, however, you can just knit over it as your afghan continues to grow, and there really won’t be a noticeable problem. I have left my marker loop to show the miter line.

1 comment:
Thanks for the instuctions! I'll be waiting for part 2
Post a Comment